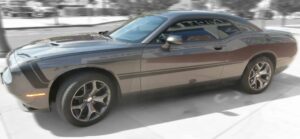
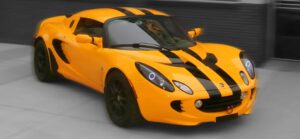
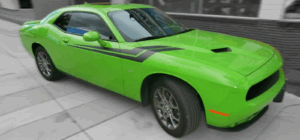
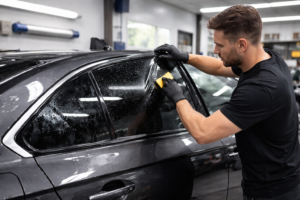
Motorcycle owners enjoy customizing their ride. If you own a bike and want to change its aesthetic appeal, custom motorcycle graphics are an excellent option to consider. Installing bike graphics may seem like a daunting task, but it doesn’t have to be. Here are a few tips on installing graphics for your motorcycle.
Remove the old graphics
Before you start installing graphics or stickers on your motorcycle, you need to remove any old graphics. If the old graphics seem too difficult to remove, try applying heat to the underside of the graphics. You can either use a heat gun or a heat dryer. It should help soften up the sticker and you can start scraping it off with a sharp knife or razor blade.
Clean the surface
Once the old graphics have been completely taken off, the next step is to clean the surface and remove all residue. Make sure all blobs of glue are removed by washing the area where the new sticker will be applied. You can use either a mixture of alcohol and water or soap and water. Then, thoroughly rinse the surface with water until no residue or soap remains. Never use window cleaning products. Chances are some residues might be left behind, which can make the graphics stick less effectively.
Install the graphics or sticker during moderate temperatures

When applying graphics on your bike, it is best to find a shaded area away from direct sunlight. You should also apply the stickers during moderate temperatures between 50 and 90 degrees. . This will help you achieve the best results.
Use masking tape
Positioning your graphics perfectly can be difficult and tedious. The solution: masking tape.Use masking tape to hold your graphics in the right position. Place a piece of tape along the edges of your sticker to fix it in its proper location. Then lift the sticker and peel off the backing paper. Use your thumb to press the center while holding on to the bottom edge. Slowly lower the sticker and gradually work your way from top to bottom.
Use the wet method
The wet method is a life saver, especially when you are working with large stickers. Most small decals and graphics may not need this trick, but installing large ones is an entirely different story. After making sure that the surface area is cleaned and ready, use a spray bottle with a soap and water mixture to wet the area again. The solution should be 95 percent water and 5 percent soap. Make sure the area is wet when applying the sticker. This will give you the ability to re-position the sticker to its proper place. Be sure to remove all bubbles using a plastic card or a squeegee. Let the soap dry after your sticker is set.
Try heating the graphics
Another trick you could use to make the job easier is to use heat. Take time to heat the graphic beforehand. This will enable you to easily fix any mess-ups. In fact, you can continue to apply heat throughout the process depending on the need. If there are tiny bubbles that you can’t get rid of, try using the tip of a sharp knife or a pin to pop it and press it flat. Using a hair dryer for the edges of the graphics is also a good idea. This will help bond the sticker to the surface so that it doesn’t easily peel off later.
You don’t have to be an expert to know how to apply custom motorcycle graphics. All you have to do is follow these tips and you should be able to nail it even on the first try! If you want the best quality graphics for your ride, please visit Grafics Unlimited.